
Building your own gaming PC is no longer just for hobbyists. With the right preparation, you can build a system that outperforms many off-the-shelf solutions, is fully tailored to your usage scenario, and is easier to upgrade in the future. In this guide, we will walk through the process step by step: from planning and component selection to assembly, optimization, and testing.
Step 1: Planning and Budgeting
A successful build does not start with the hardware, but with a realistic analysis of your wishes. Which games do you want to play, at what resolution, and with what framerate? Competitive e-sports titles have different requirements than heavy AAA games or simulations.
Important questions beforehand:
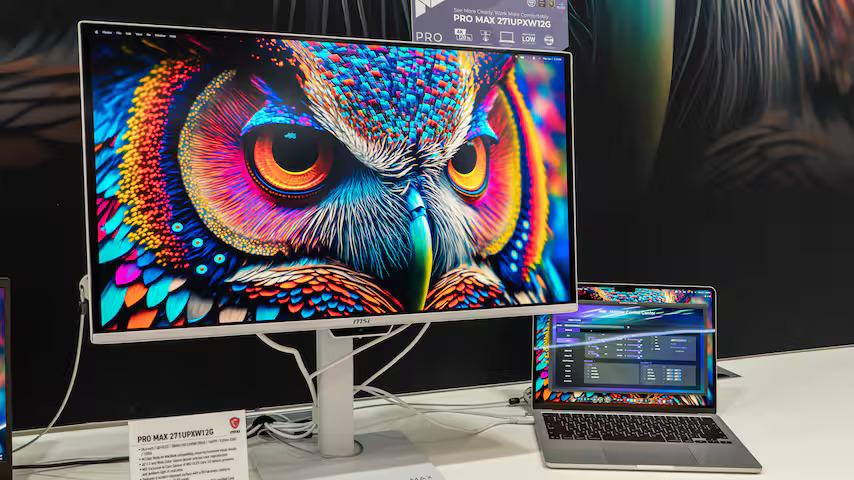
- Are you playing at 1080p, 1440p, or 4K?
- Are you focusing on high framerates (for example, 144 Hz) or maximum graphical details?
- Are you also using the PC for streaming, content creation, or work?
Based on this, you set a budget. In practice, the largest part often goes to the GPU and CPU, while you should not skimp on the power supply and cooling. Also, leave room for peripherals such as extra fans, a Windows license, and any future upgrades.
Step 2: Choosing the Right Components
To build your gaming PC, you need to think about several crucial parts that must work well together.
Processor (CPU)
The CPU determines how quickly game logic, AI, and background processes are processed. Modern games benefit from high clock speeds and multiple cores, but extreme core counts are rarely needed for pure gaming.
Graphics Card (GPU)
The GPU is usually the most important performance-determining factor. Choose this based on resolution, ray tracing support, and desired framerate. Also, pay attention to power consumption and physical dimensions; not every card fits in every case.
Motherboard
The motherboard determines compatibility and expandability. Pay attention to:
- CPU socket and chipset
- Number of M.2 slots for fast SSDs
- Support for desired RAM speeds
- Connections (USB, network, audio)
Memory (RAM)
16 GB is still the recommended minimum for gaming, while 32 GB is becoming increasingly common for heavier games or multitasking. Faster RAM can make a noticeable difference, especially in CPU-intensive games.
Storage (SSD/HDD)
An NVMe SSD ensures short load times and a responsive system. Large HDDs are still usable for archiving, but games run best from SSD.
Power Supply (PSU)
Choose a quality power supply with sufficient wattage and high efficiency (preferably 80 Plus Gold). This is not a component to skimp on, especially with modern, energy-intensive GPUs.
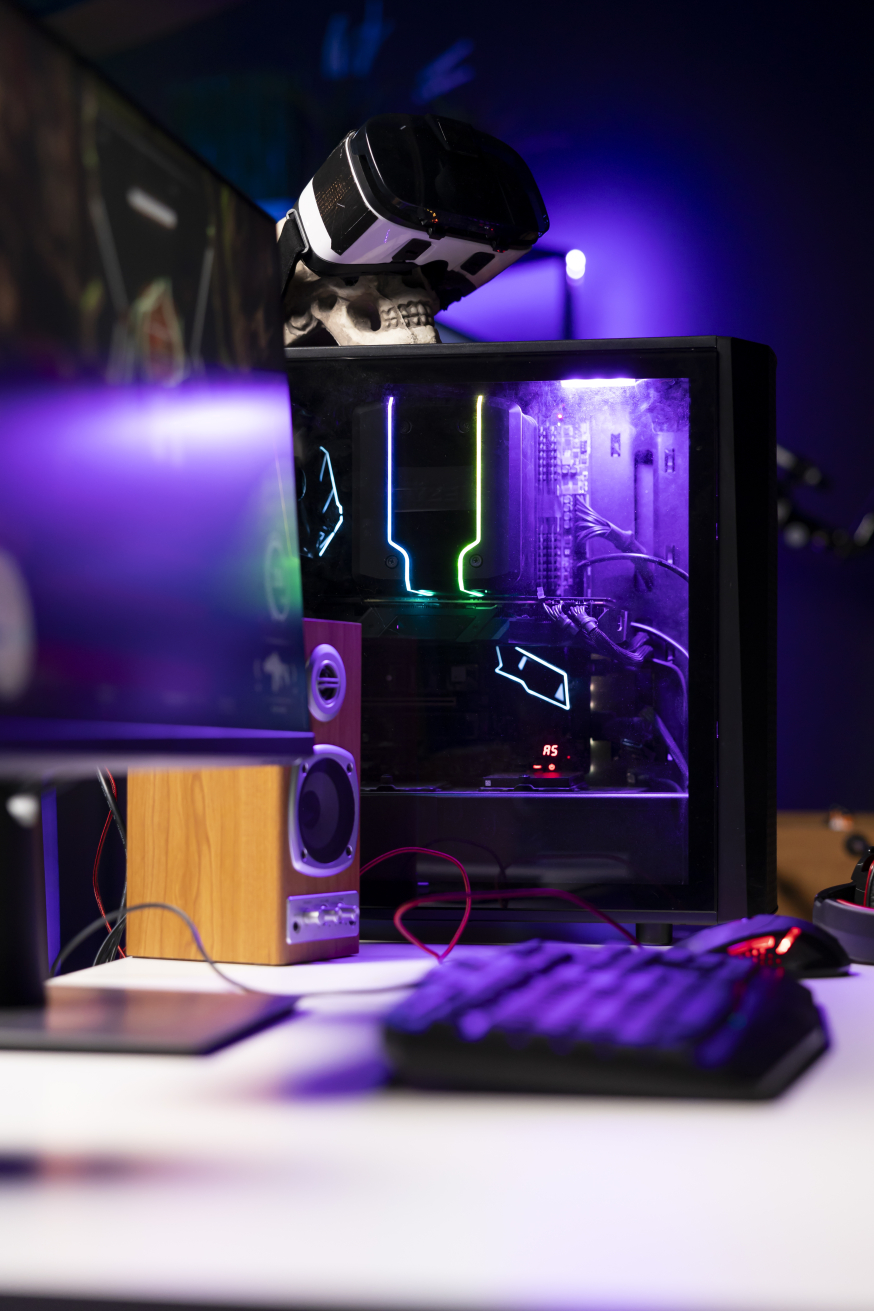
Case and Cooling
Good airflow is essential for stable performance. Pay attention to support for multiple fans, radiators, and long graphics cards.

Step 3: Assembly
The assembly ideally starts outside the case. First, install the CPU on the motherboard and mount the CPU cooler with the right amount of thermal paste. Then place the RAM modules in the recommended DIMM slots.
After that, do the following:
- Mount the motherboard in the case with standoffs.
- Install the power supply and roughly route the cables.
- Place SSDs and any HDDs.
- Install the graphics card in the primary PCIe slot.
- Connect all power, data, and front panel cables.
- Connect the case fans and check the airflow direction.
Take your time for cable management; this not only improves the appearance but also airflow and maintainability.
Step 4: Installing the Operating System and Drivers
After the first successful boot, install the operating system, usually Windows. Immediately after, install the main drivers:
- Chipset and network drivers from the motherboard manufacturer
- GPU drivers from the manufacturer
- Any firmware updates for SSDs
A clean driver installation prevents instability and performance loss in the long term.
Step 5: Optimization and Tuning
With a working system, fine-tuning begins. A BIOS update can improve stability and compatibility. Activate XMP or EXPO profiles to run your RAM at the correct speed.
For advanced users:
- Adjust fan curves for a good balance between cooling and noise level
- Consider light CPU or GPU overclocking, provided the cooling allows it
- Monitor temperatures and voltages with reliable tools
These optimizations not only lead to better performance but also a quieter and more efficient system.
Step 6: Testing and Long-Term Use
Before you really start gaming, testing is crucial. Use benchmarks and stress tests to check stability. Then play some games to verify that performance and temperatures remain within safe margins.
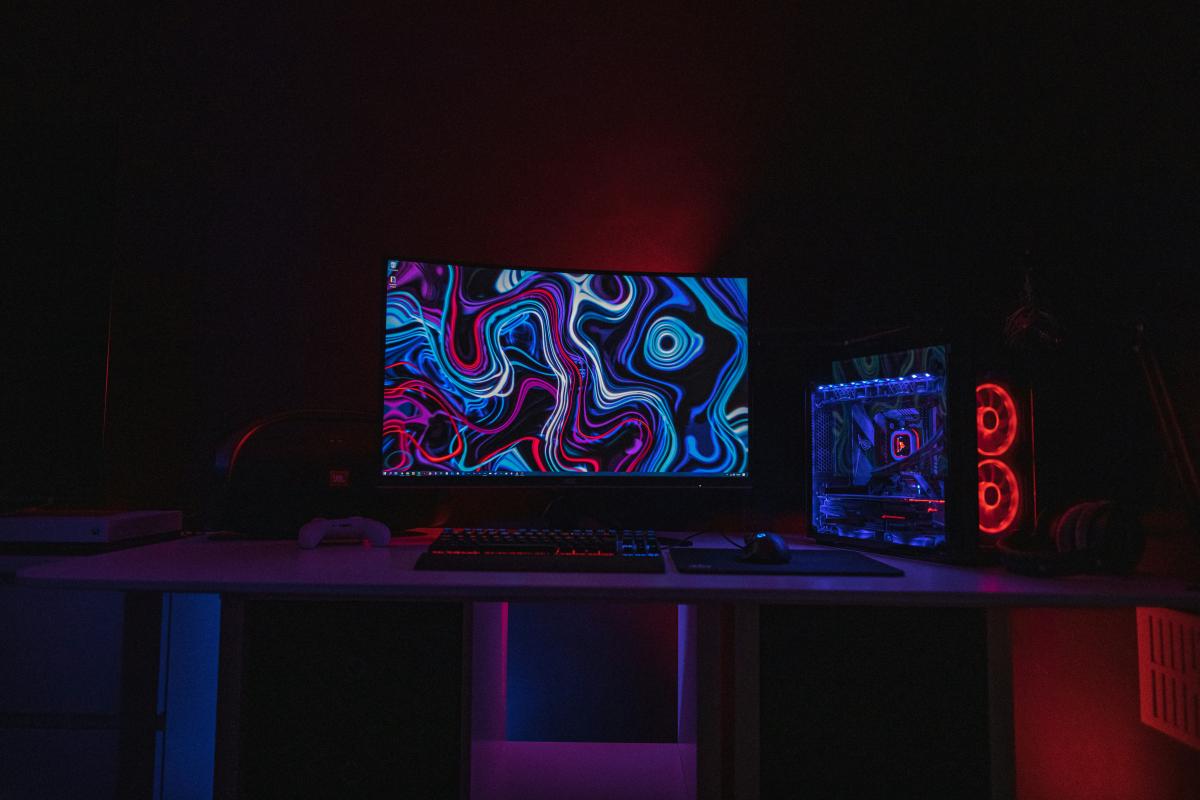
If everything runs stably, you have a system that is precisely tailored to your wishes. Moreover, a gaming PC, if you build it yourself, is easier to upgrade, better to maintain, and often more cost-effective than a pre-assembled machine.
Building Your Own Gaming PC
Building a gaming PC requires a lot of preparation and attention to detail, but it provides maximum control over performance and configuration. By planning thoughtfully, choosing compatible components, and assembling carefully, you create a future-proof system that is ready for the latest games and technologies.